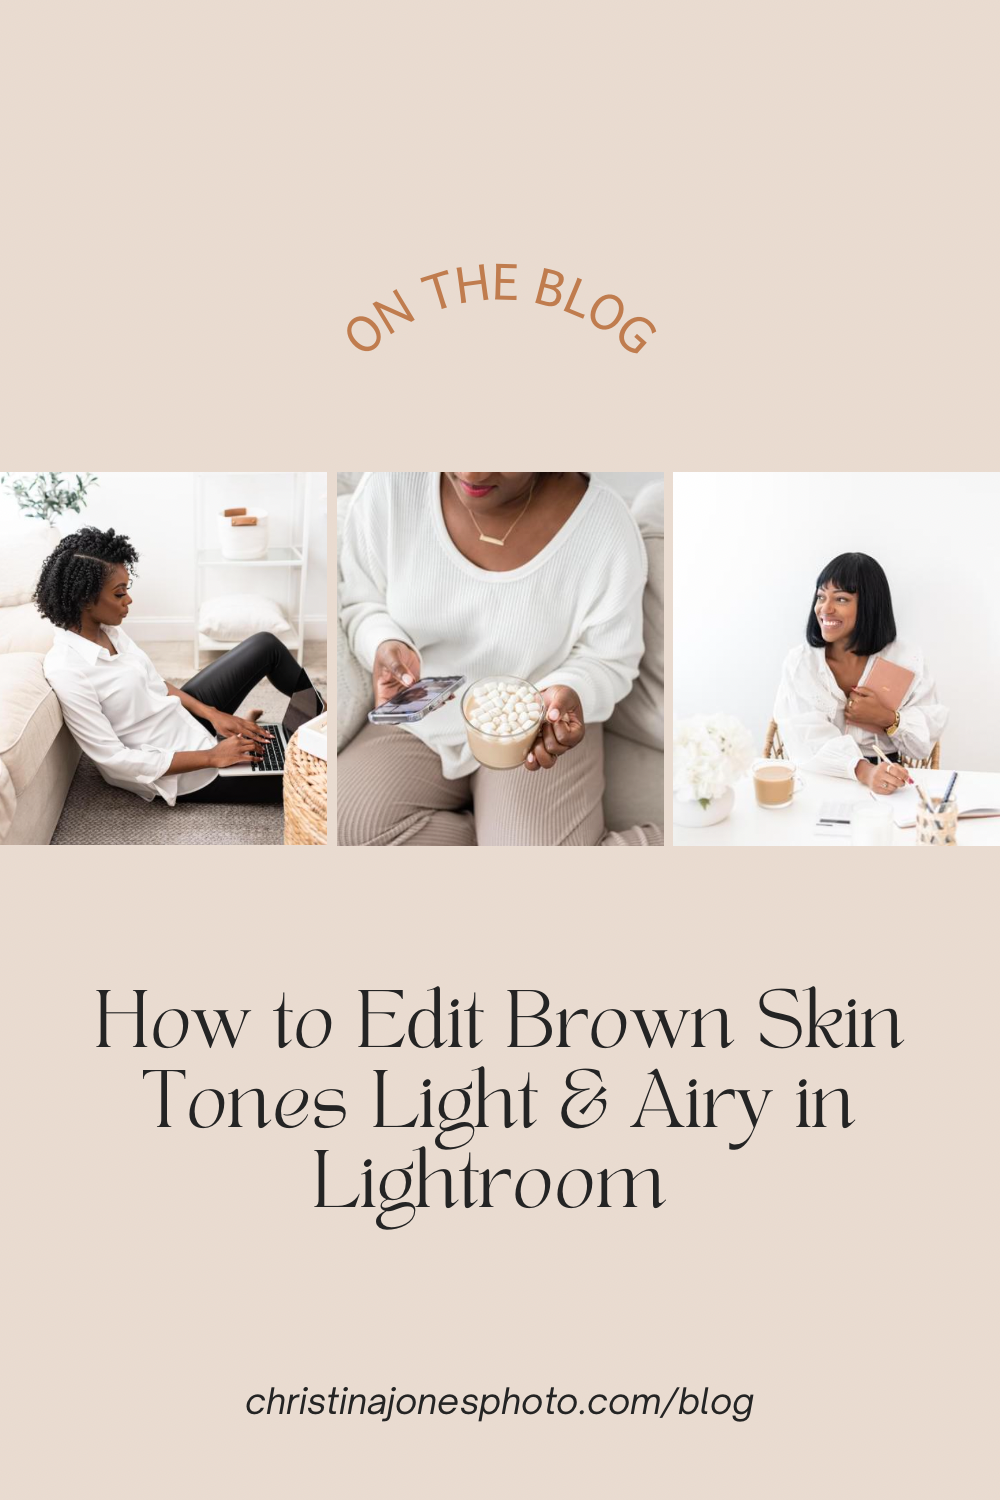
How to Edit Brown Skin Tones Light & Airy in Lightroom
A hot topic among new clients has been how their beautiful brown skin is edited in light + airy editing.
They’re concerned their skin looks to overexposed or washed out, too saturated (too golden, orange or red) or just doesn’t reflect their natural skin tone.
So, I wanted to share some tips for us photographers who are working with WOC and brown skin tones. Or if you’re taking self-portraits, you can use these tips when you’re editing your own photos or choosing/customizing a preset.
Shoot in RAW and Manual Mode
First things first, make sure you’re shooting in a well-lit room and your camera settings are set to shoot slightly under exposed. This is to ensure you don’t wash out the skin. Don’t worry about the image being a little darker, you can edit it to be more light and airy.
Pro tip: If you’re using a DSLR, shoot in RAW and manual mode, to have the most control over what you’re shooting and editing.
Ideal camera settings: 1/100, f 1.4-2.8, ISO 100-800 (adjust based on lighting in the space).
Want to learn how to shoot in manual mode? Signup for my Camera Basics Class for Content Creators!
Basic Light & Airy Edits for Brown Skin Tones
Start with the tone curve in Lightroom. This is the best way to adjust the exposure of the image. You want to adjust curve in the form of an “S” shape for a good balance of lights, darks, shadows and mid tones.
The key to editing light and airy images is the shadows! Lift the shadows to the “+” until you get the desired look. Do this even before you increase the exposure. Then turn down the blacks to the “-“ to avoid washing out the skin. We don’t want our subject to look ashy in the photo!
Lastly, adjust the color tones, specifically orange, yellow and possibly red, based on the subject’s undertones to get as close to the natural skin tone as possible. You can also adjust the tint, likely more to the magenta side.
You can also do some color grading, but that is a bit more advanced.
Check out this Instagram reel- a quick tutorial on how to edit brown skin tones in Lightroom:
Learn How to Edit Like a Pro
Ready to take your editing game to the pro level? Signup for my online class: Edit Like a Pro in Lightroom ! In this 90-minute class, you’ll learn:
How to edit light and airy in Lightroom desktop and mobile
Basic edits in LR everyone should know
How to edit various skin tones (especially brown skin)
How to edit a photo with bad lighting
How to create a faster editing workflow
How to use presets
Here’s what past students are saying about the classes:


Have any questions about the class? Leave a comment below. Hope to see you there!